A photo collage is a creative way to display a collection of photographs. It can be a fun project with friends or family or a unique way to showcase your photos. Here are some tips on how to create a beautiful photo collage:
- Choose a theme. What is the overall look you want for your collage? This will help you determine your collage’s size, shape, and layout.
- Gather your photos. Once you have a theme in mind, start collecting photos that fit. You can use old family photos, photos from a recent vacation, or even your favorite Instagram shots.
- Decide on a layout. There are endless possibilities for layouts, so take some time to experiment. You can create a traditional grid, a more organic collage, or anything between.
- Get creative with embellishments. To make your collage extra special, add some personal touches. This could include handwritten notes, pretty paper borders, or small objects like buttons or beads.
- Display your collage. Once you’re happy with your creation, it’s time to enjoy it! Frame your collage or use washi tape to hang it on the wall. You could also create a digital collage to share online with friends and family.
How Do You Make A Photo Collage?
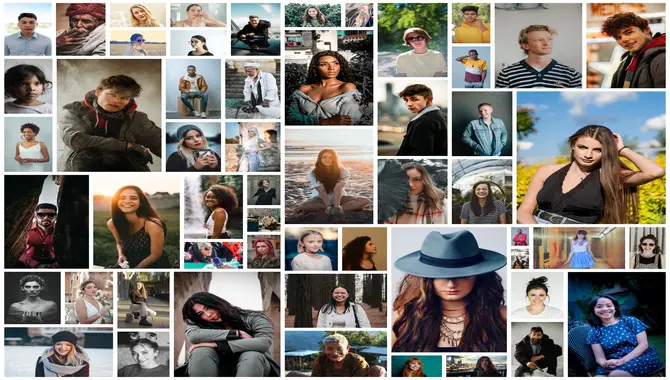
Making a photo collage is a great way to display many photos in one place. You can make a collage for a special event, like a wedding, vacation, or fun.
Here’s a step-by-step guide to making your photo collage:
- Decide on the size of your collage. You’ll need to gather enough photos to fill the space. For example, if you want to make an 8×10 collage, you’ll need at least 16 photos.
- Choose a theme for your collage. This will help you decide which photos to use. For example, you may want to collage all the places you’ve visited or photos of your family.
- Gather your photos. Once you’ve decided on the size and theme of your collage, it’s time to gather your photos. You can use photos from your phone, social media, or old physical photos.
- Choose a layout. There are a few different ways you can lay out your photos. You can have them all in a grid or stagger them. You can also use shapes or patterns to arrange your photos.
- Print your photos. Once you’ve chosen your layout, it’s time to print your photos. You can print them at home or a local print shop.
- Cut out your photos. Once your photos are printed, it’s time to cut them out. You’ll want to use scissors or a paper cutter for this step.
- Arrange your photos on the collage. Once your photos are cut out, you can start to arrange them on the collage. You can attach the photos to the collage using tape, glue, or magnets.
- Hang up your collage. Once your collage is complete, you can hang it on a wall or display it on a shelf.
How Do You Create A Photo Collage?

When it comes to creating a photo collage, there are a few different ways that you can go about it. Whether you use an online tool or a more traditional method, the process is relatively simple and only requires a few steps. Below, we’ve outlined how to create a photo collage, complete with a real-life example.
The first step is to gather all the photos you want to use. This can be done by scanning old photos, pulling images from social media, or even taking new pictures for the collage. Once you have all your photos, the next step is to decide on a layout. Various online tools can help with this, or you can lay the photos flat and arrange them until you’re happy with the results.
Once you have your layout, it’s time to start attaching the photos to your backing. This can be done with glue, tape, or special photo-safe adhesive strips. If you’re using an online tool, you’ll likely be able to drag and drop the photos into place. Once all the photos are attached, you can add any final touches, like labels or embellishments, then display your finished collage proudly.
For a real-life example, let’s say you want to create a collage of photos from your last family vacation. First, you’ll gather all the photos you want to use, then decide on a layout. You might arrange the photos in a grid or create a more whimsical design. Once you have your layout, you’ll attach the photos to a poster board or foam core using glue or tape. Finally, you can add final touches, like captions or stickers, then display your collage in a frame or bulletin board.
Creating a photo collage is a great way to preserve memories and tell a story. With just a few simple steps, you can create a beautiful and unique collage that will be cherished for years.
What Is The Best Way To Make A Photo Collage?

When it comes to creating a photo collage, there are a few different ways that you can go about it. Below, we’ll walk you through the different options so that you can decide which method is best for you.
Option 1: Use a Collage Maker
One of the easiest ways to create a photo collage is to use a collage maker. With a collage maker, you can upload the photos you want to use, drag and drop them into place, and then export the finished product. You can choose from several different collage makers, but our favorite is Fotor. Fotor is a free online collage maker that’s simple to use and produces high-quality results.
To use Fotor, head to their website and click “Create a Collage.” Then, upload the photos that you want to use and drag them into place. Once you’re happy with your collage, you can download or share it online.
Option 2: Use Photoshop
If you’re tech-savvy, you can create a photo collage using Photoshop. Photoshop is a powerful image editor that can be used for various design projects, including creating collages. While Photoshop can be a bit daunting for those unfamiliar with it, plenty of resources are available to help you get started. Once you’ve got the hang of it, Photoshop can be a great way to create professional-looking collages. If you want to try Photoshop, we recommend checking out this tutorial from Photoshop Tutorials.
Option 3: Use an App
If you’re looking for a more mobile-friendly option, there are several apps that you can use to create a photo collage. These apps are typically more user-friendly than Photoshop, making them a great option for creating a collage on their phone or tablet.
Our favorite collage apps include Pic Collage, Layout, and Moldiv. With these apps, you can create a collage in just a few taps. Once you’ve installed one of these apps, open it up and select the photos that you want to use. Then, use the app’s tools to arrange the photos into a collage. You can save or share your collage when you’re happy with the results.
Option 4: DIY It
If you’re creative, you can always make your photo collage. This option gives you the most control over the final product but requires a bit more time and effort. You’ll first need to gather the photos you want to use to make your collage. Once you have your photos, you can start experimenting with different layouts. You can use a piece of paper to help you plan your collage before you glue things down.
When you’re happy with your layout, you can start gluing your photos in place. We recommend using a glue stick for this, making it easier to reposition your photos if needed. Once your photos are glued down, you can add any final touches, like embellishments or handwritten captions.
Making a photo collage is a great way to showcase a group of photos. With so many different options available, there’s sure to be a method that’s perfect for you.
How Can I Make A Photo Collage?
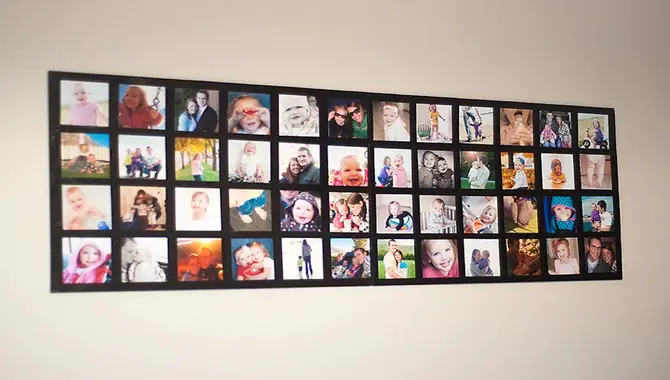
Have you ever seen those beautiful, creative photo collages and wondered
How to Make One Yourself?
With a little time and creativity, you can make a photo collage that will impress your friends and family. Here is a step-by-step guide to creating a photo collage:
- Choose the photos you want to use. This is the fun part! Gather all of your favorite photos together. You can use old, new, or a mix of both.
- Choose a collage template. There are many different ways to arrange your photos into a collage. You can choose a traditional grid or heart-shaped layout or get creative and make your unique design.
- Edit your photos. Once you have chosen the photos you want to use, it’s time to edit them. You may want to crop or rotate some photos to fit better into the collage. You can also add filters or other effects to make your photos look their best.
- Add text. A photo collage is not complete without some creative text. You can add a quote, a funny saying, or even just the names of the people in the photos.
- Save and share. Once you are happy with your collage, it’s time to save it and share it with the world! You can save it as a JPEG file and share it online or print it and hang it on your wall.
Creating a photo collage is a fun and easy way to show off your photos. With a little time and creativity, you can make a collage that will impress your friends and family.
Conclusion
There are many ways to make a photo collage, and the best way depends on your available materials and tools. If you have a lot of photos and a large space to work with, you can create a collage using a grid or template.
If you have fewer photos and a smaller space, you can create a collage using a single photo as a starting point and add other photos around it. No matter your method, photo collages are a fun way to display your photos and memories. If you still have any questions about how to make a photo collage, feel free to comment below.

I’m a writer and blogger who loves to talk about entertainment, culture, and relationships. I love to share my thoughts and insights on these topics, and I’m always looking for new ways to engage with my readers. I’m also a big fan of learning new things, so I’m always exploring new areas of interest.
